Night sanding deserves a quiet night.
- Ollie Skelton

- Apr 28, 2018
- 3 min read
Updated: Jun 13, 2018
So after I'd made the CAD models you saw in the previous post I needed to convert them from being entirely virtual to real physical blanks that I could use to make my plaster moulds. I've done some 3D printing before for A-level, for which we had a printer at school that i used, and for my previous college project i had a friend print out the blank for me, however I don't have a printer myself and i wanted these to be as high a quality possible so decided to have them done professionally. I had some things printed a few years ago by 3D hubs in sheffield (run by a guy called Ben Folkes) who did a really good job for me before so i went back to him again this time.
I'd originally though I would print these as one solid piece and then have to cut off the support material (as the printer cant do overhangs) however Ben suggested it would be much better if he printed them in two halves and then bonded them together and filled in the gaps with car body filler. I nodded in agreement which was ineffective as we were conversing over email, so I sent an emailing saying it was a great idea.
The guys at 3D folkes were kind enough to glue the two halves together and do a fair amount of cleaning up (including painting it) for me, which they did because I payed them to.
This next section would've been nice to have a series of start to finish photos of the sanding process, however i forgot to do that and only took photos midway through with was a bit daft (although in the background of this first photo you can see the larger boat in its untouched raw state).

This photos above was taken before I sanded the sides down at all. I've sanded spine and rim of the boat here so you can see the layers left by the printing process have basically disappeared and all the paint has been stripped off so just bare white PLA plastic can be seen. the sides of the hull however are exactly the same as when I got them and thats what the whole thing looked like, primed with grey spray paint and very textured. I did wonder about leaving it in and left a hint of it however i though it might just look a bit ugly in the clay.
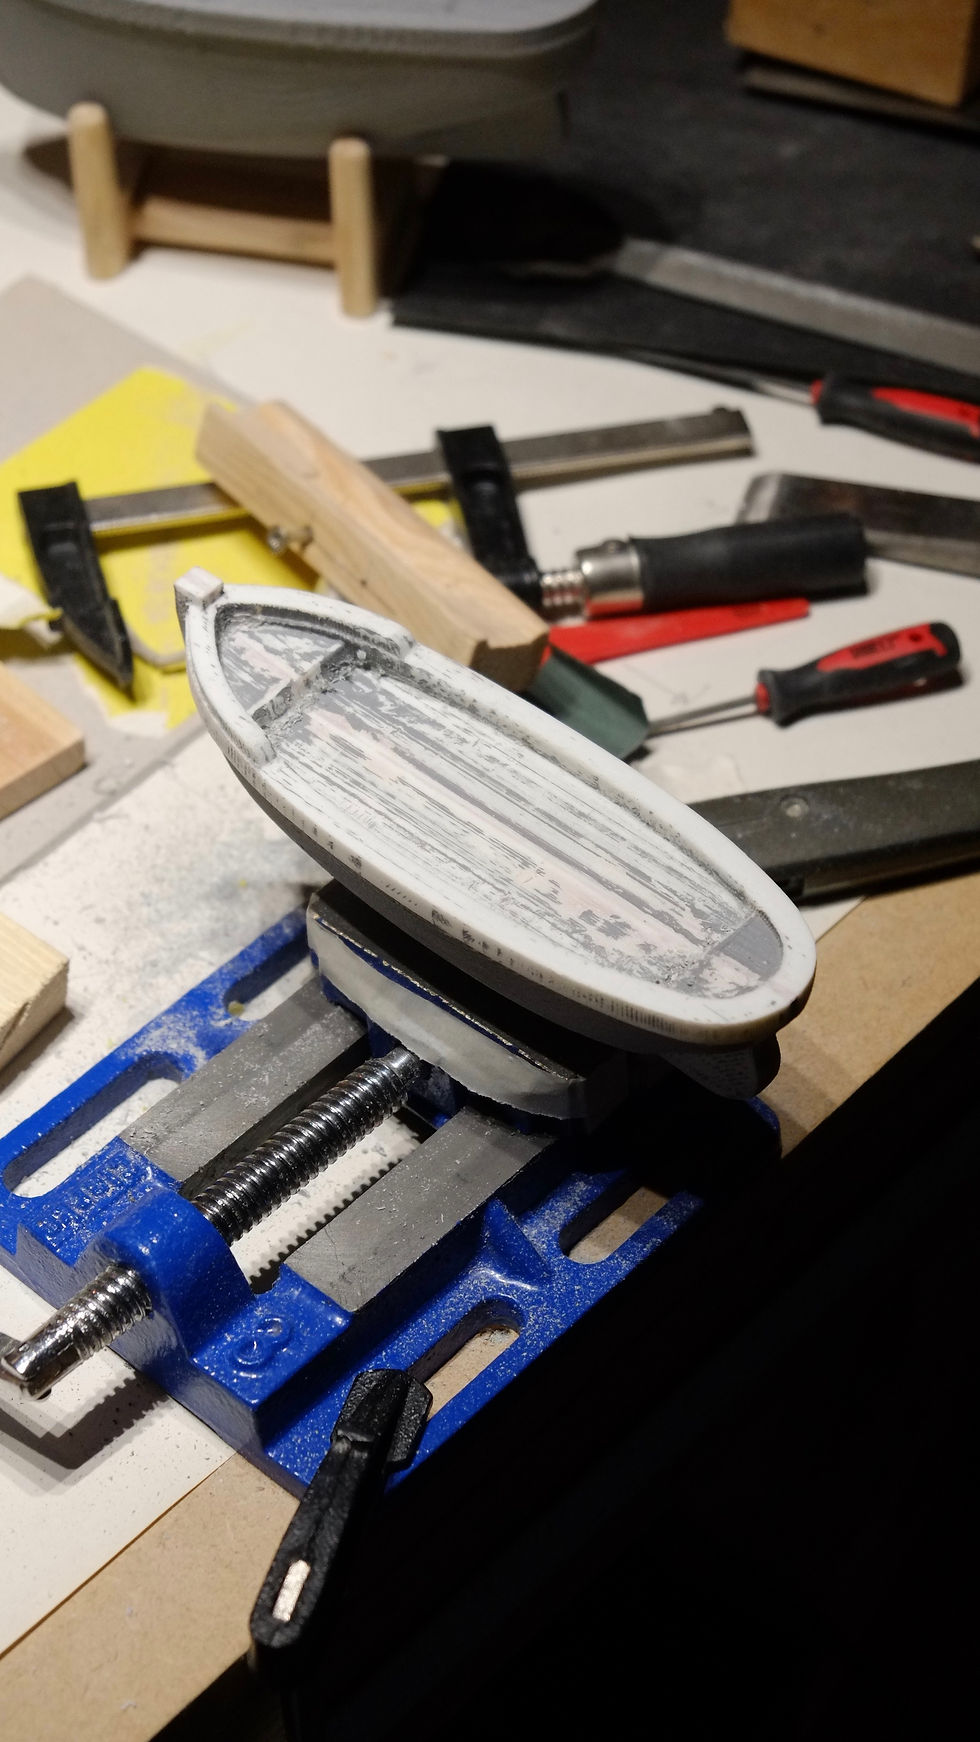
Here you can see the deck of the boat after I've used various sizes of chisel and sandpaper to try and make it smooth, which is isn't really but it will do because sanding down in that gap is a pain in the arse as i cant use a file which is whats most effective at just hogging off material as fast as possible.


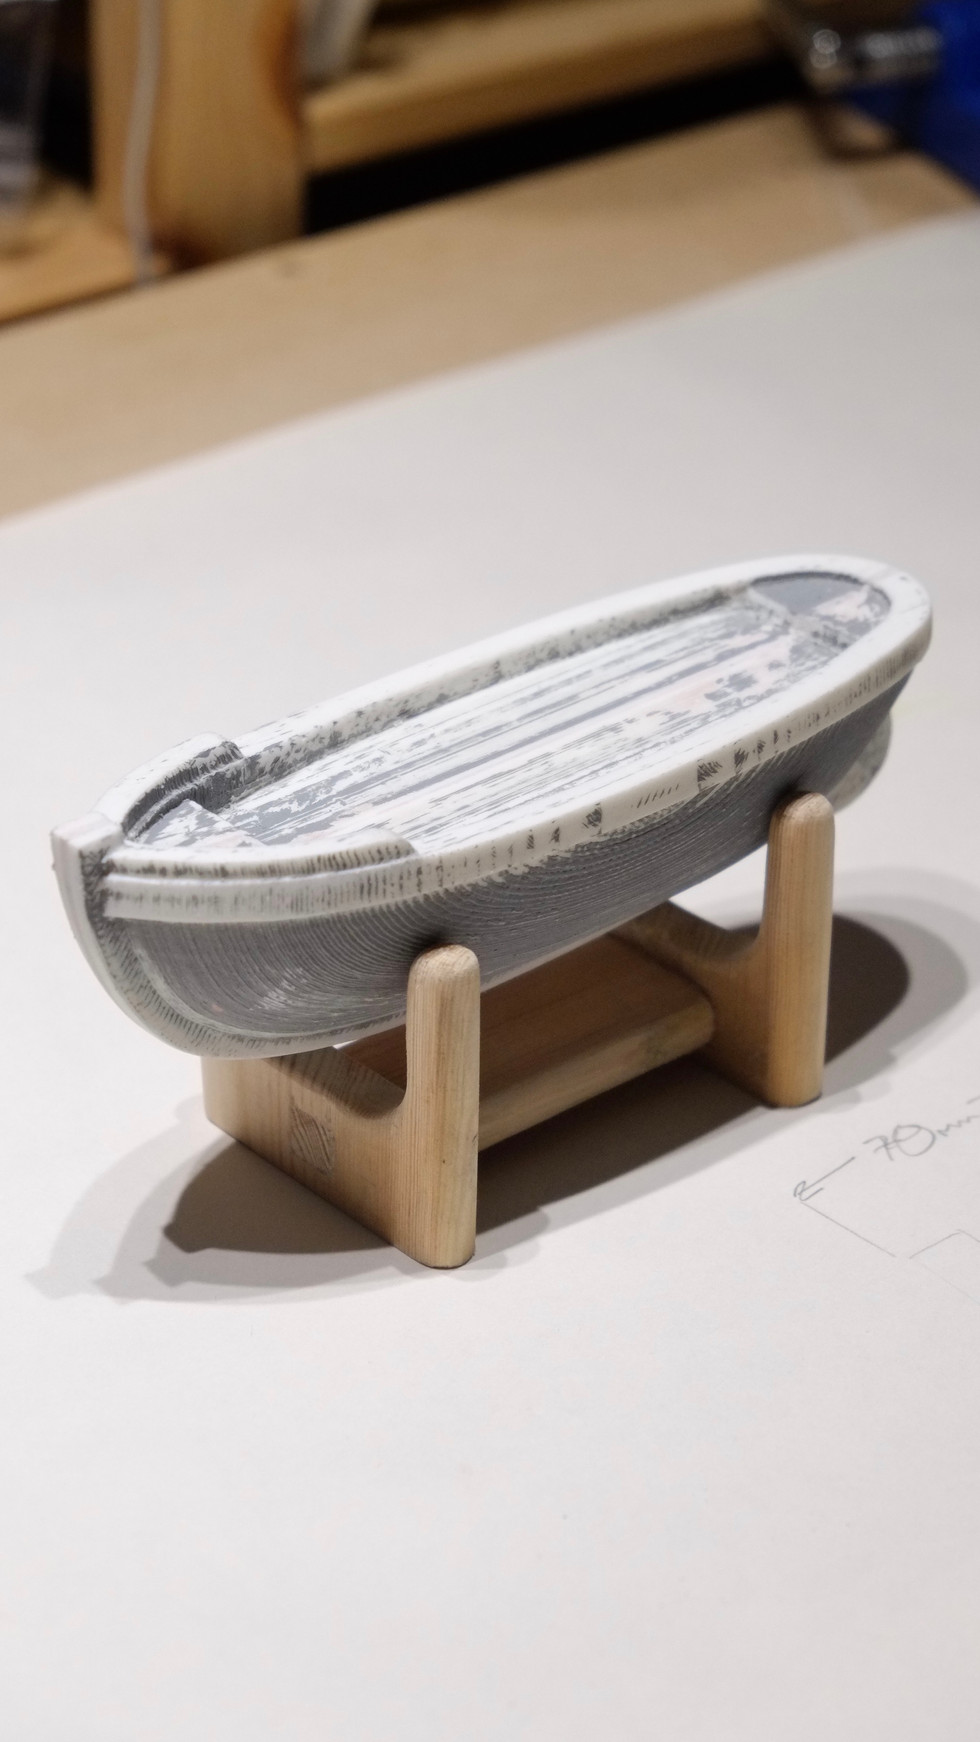
Also I made that cool little wooden stand to prop them up on for display but also when I'm working with clay that will come in handy more. I made it too wide though because the clay will shrink so I'll have to make a new one and I can tell you now its not going to be an nice as this one and i shall be using screws not a mortice and tenon. I wonder about making these for the exhibition and if i sell them to anyone stupid enough to give me money then they might want that, however that would require a lot of extra work which I likely wont have time for.


Comments